If you’re considering installing a bullet-resistant barrier system in a municipal or government building, it’s important to know what to expect. Let’s look at the process before, during, and after installation.
Before Installation: Planning and Designing Your Bulletproof Barrier
Start off on the right foot by enlisting the help of a professional bulletproofing subcontractor. If you’re retrofitting an older facility, ask if the company you’re considering has experience with those types of builds. A good bulletproofing company will take the time to understand your unique needs and customize a ballistic barrier solution that fits with your building and your daily operations.
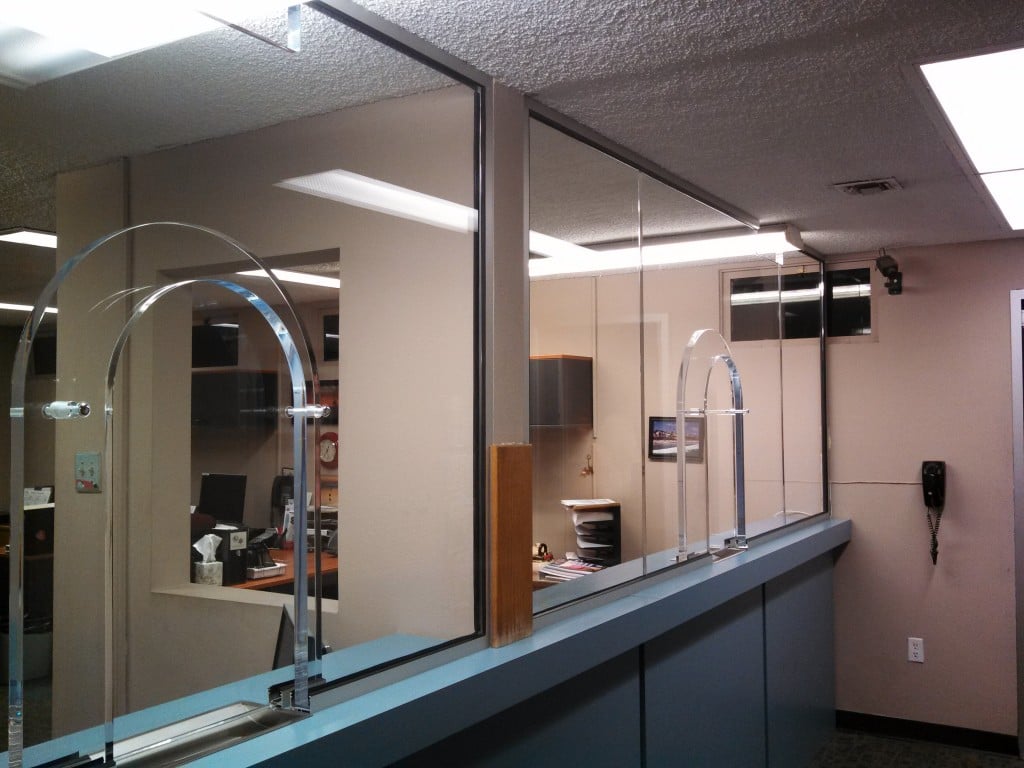
In general, municipal building bullet resistant barrier systems—ranging from police station reception areas to county clerk desks and city payment offices—are fairly consistent, usually designed along with the “reception area” model:
- An eight-foot-wide opening in a wall, fronted with a shallow countertop
- One or more “deal trays” built into the countertop for passing papers
- Bullet resistant glazing with an integrated clear-voice communication system (either “natural voice” or amplified via intercom)
- A bullet-resistant door and bullet resistant fiberglass backing the walls and counter
While municipal bullet-resistant security systems tend to be interior locations (lobbies, reception areas, payment centers, and the like), adding an exterior transaction window can be very straightforward and often allows for expanded business hours.

Choosing The Right Level of Protection For the Job
At one time, most municipal offices were satisfied with bullet-resistant barriers composed of materials with a Level 2 or 3 rating. These are capable of stopping common handgun rounds, including several closely clustered shots from a 9mm, .357 Magnum, or .44 Magnum pistol. As threat profiles have evolved, many city managers and administrators are electing to go with a Level 4 system. Level 4 barriers are rated to withstand at least one shot from a high-powered rifle, but for practical purposes can be expected to stop all sorts of rounds from a variety of handguns, long guns, and even tactical rifles and assault weapons. In this video, starting around the 5-minute mark, you can see Level 4 materials stopping multiple shots from high-powered hunting rifles as well as the sort of .223 rounds fired by AR-15 and M-16 assault rifles.
A Level 3 bullet-resistant window can be made of either laminated polycarbonate acrylic or glass-clad polycarbonate (GCP). That choice is usually dictated by other aspects of the design, as there are different challenges and benefits associated with fabricating these two materials that stop bullets in very different fashions.
When you move up to a Level 4 window, you must use GCP. This tends to drive up cost (as it is both a heavier material and harder to work with)—but can also mean adding important forced-entry characteristics that some settings demand. Total Security Solutions is accustomed to helping clients determine the right cost/benefit balance for their site and situation.
Getting the Bulletproof Barrier Installed: Timelines and Expectations
“In our experience,” Total Security Solutions CEO Jim Richards notes, “Most municipal bullet-resistant barrier installations are retrofits; the existing space is getting a security upgrade. That being the case, we’re committed to moving as quickly as the client can move.”
In practical terms, that almost always means that a bullet-resistant barrier retrofit can be designed, engineered, fabricated, and installed four weeks after commitment, working within the customer’s timeline.
Most importantly, this installation process itself is painless: Almost every municipal installation can be completed overnight. While some more involved projects, such as those that include a secured entry checkpoint, could take as long as a weekend, you can still expect to have that barrier in place and the space clear, clean, and usable with no lost business days.
After The Installation: Bulletproof Glass Maintenance
In general, your bullet-resistant barrier won’t require much special attention, with one exception: NEVER USE WINDEX OR PAPER TOWELS TO CLEAN BULLET RESISTANT GLAZING!
Bullet resistant windows can be very susceptible to a specific kind of permanent fogging (called “crazing”) caused by ammonia (a principal ingredient in many glass cleaners) and “aromatic solvents” like benzene or xylene. Safe alternatives include hexane, kerosene, or naphtha—or just dish soap and warm water.
Similarly, the anti-glare and anti-static surface coatings on bullet-resistant windows can be scratched by paper towels, giving the windows a dull, hazy appearance. Always use a soft cloth (like an old t-shirt) or natural sponge and mild soap and water to clean bullet-resistant windows. Surface scratches can be buffed out by hand. Occasionally polishing the windows with quality commercial wax will fill minor scratches and restore the smooth, gleaming surface.
